Setting Up a Metric
In order to run an experiment, we'll first need to implement a metric that gathers some information about the users playing the game. What should that metric be? We don't just want to record something random about the user. We want to take a measurement that can be used to validate a hypothesis we have about a change to the gameplay.
Experiment Hypothesis
As mentioned earlier, changing Toggle's initial running speed is going to impact the difficuly of the game for our users. This will likely result in users with a higher initial speed getting lower scores on average—or will it? It's possible that an initial speed that is too low could have an adverse effect on gameplay. It might make jumps too difficult to time and actually result in a lower score on average. With this in mind, we'll say our experiment hypothesis is as follows:
If we increase Toggle's initial speed, it will result in lower scores on average due to a more difficult game experience.
This provides a clear and concise description of the variable we'll be changing (Toggle's Initial Speed), and the metric we'll be measuring (Score). It's important to form a hypothesis for every experiment we run. Without a hypothesis, it's impossible to know what metrics to tie to our experiment.
Now that we know our hypothesis, it's time to implement our metric.
Adding a Metric
It's time to implement the metric for our experiment. We've already determined that, to satisfy the hypothesis of our experiment, we should measure Toggle's score at the end of a run. Follow the steps below to set up a metric that records your score at the end of a run:
-
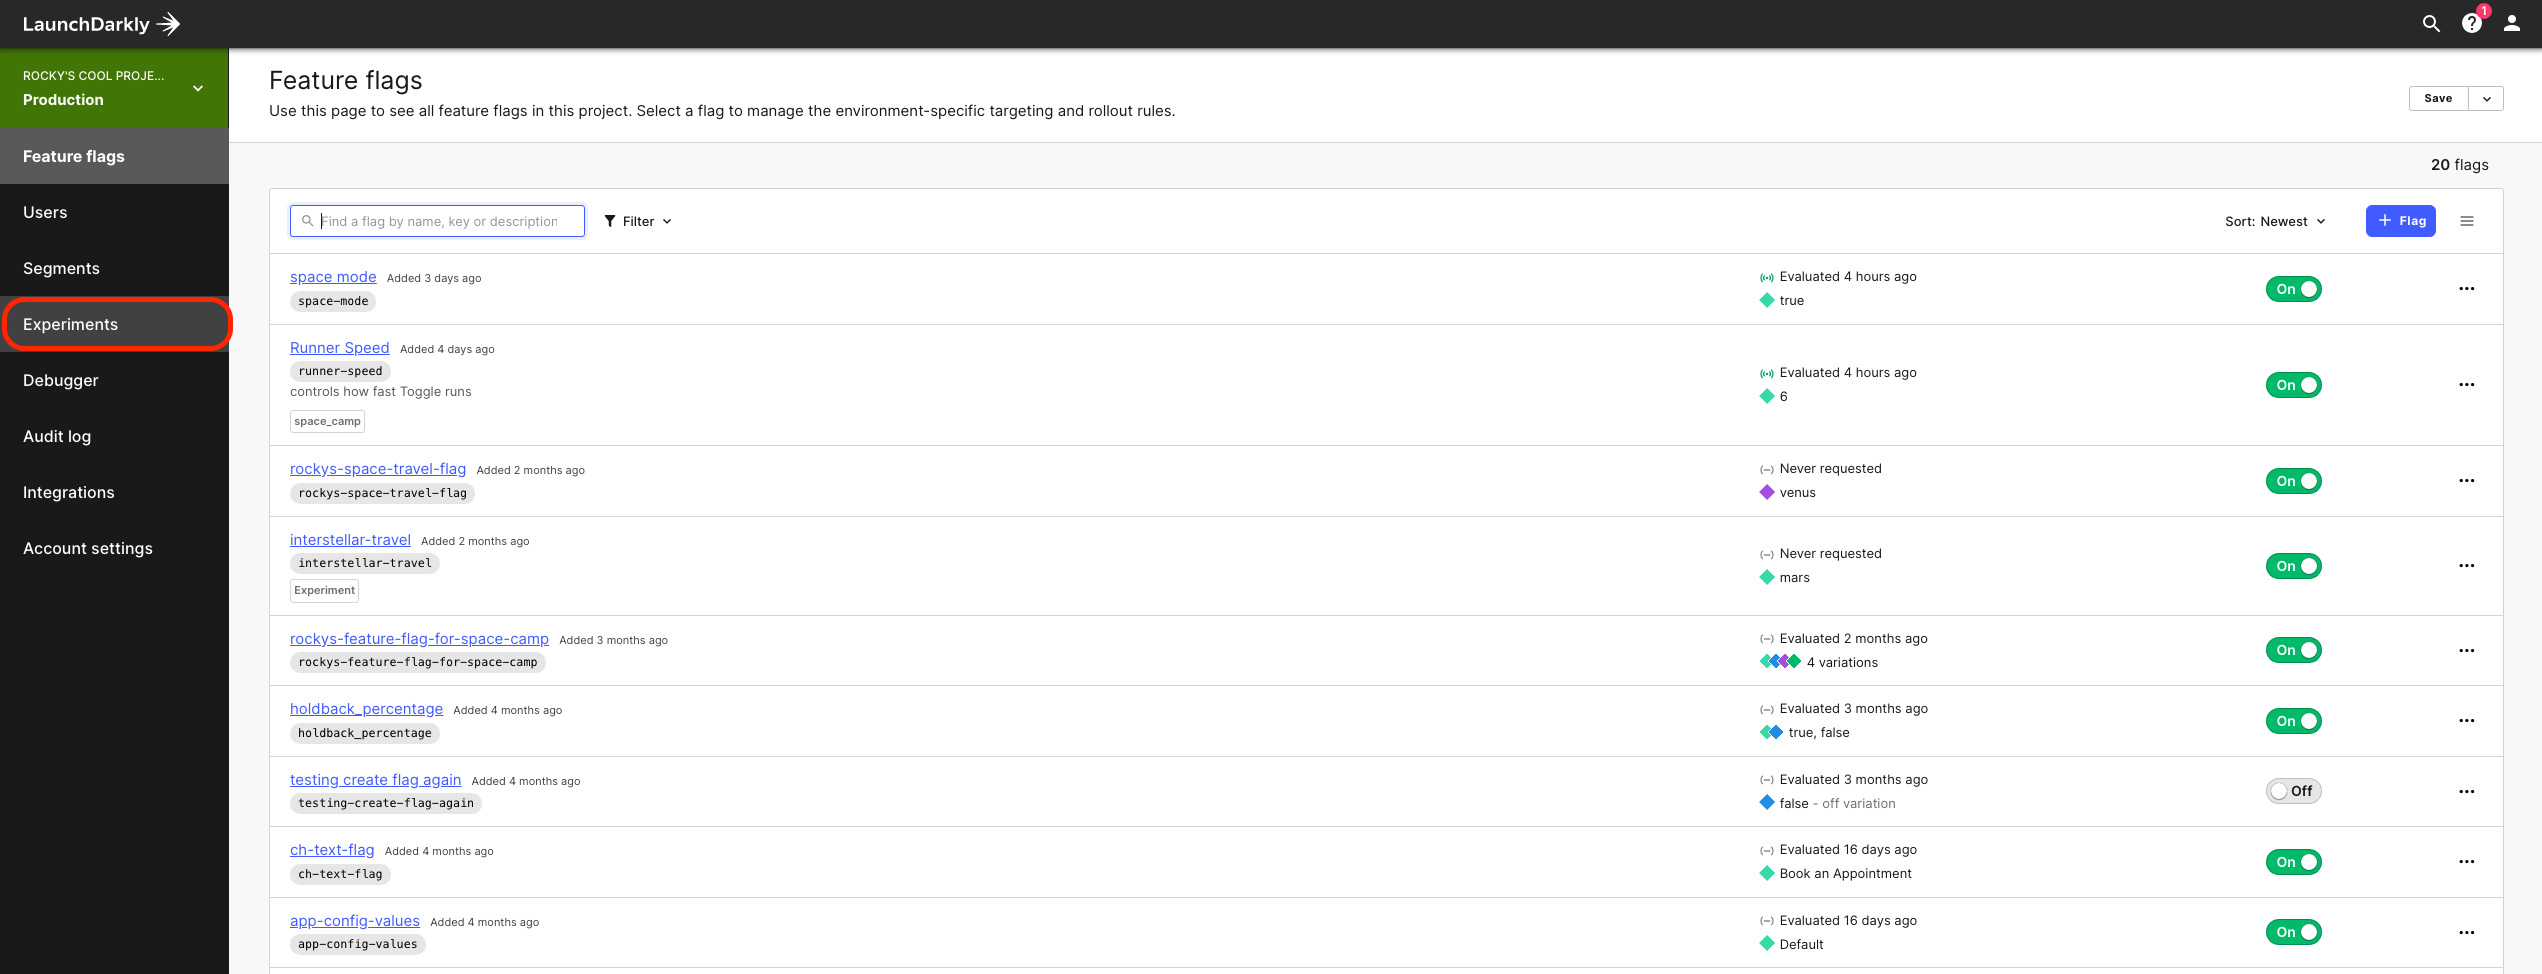
From the LaunchDarkly dashboard, click on the Experiments tab:
-
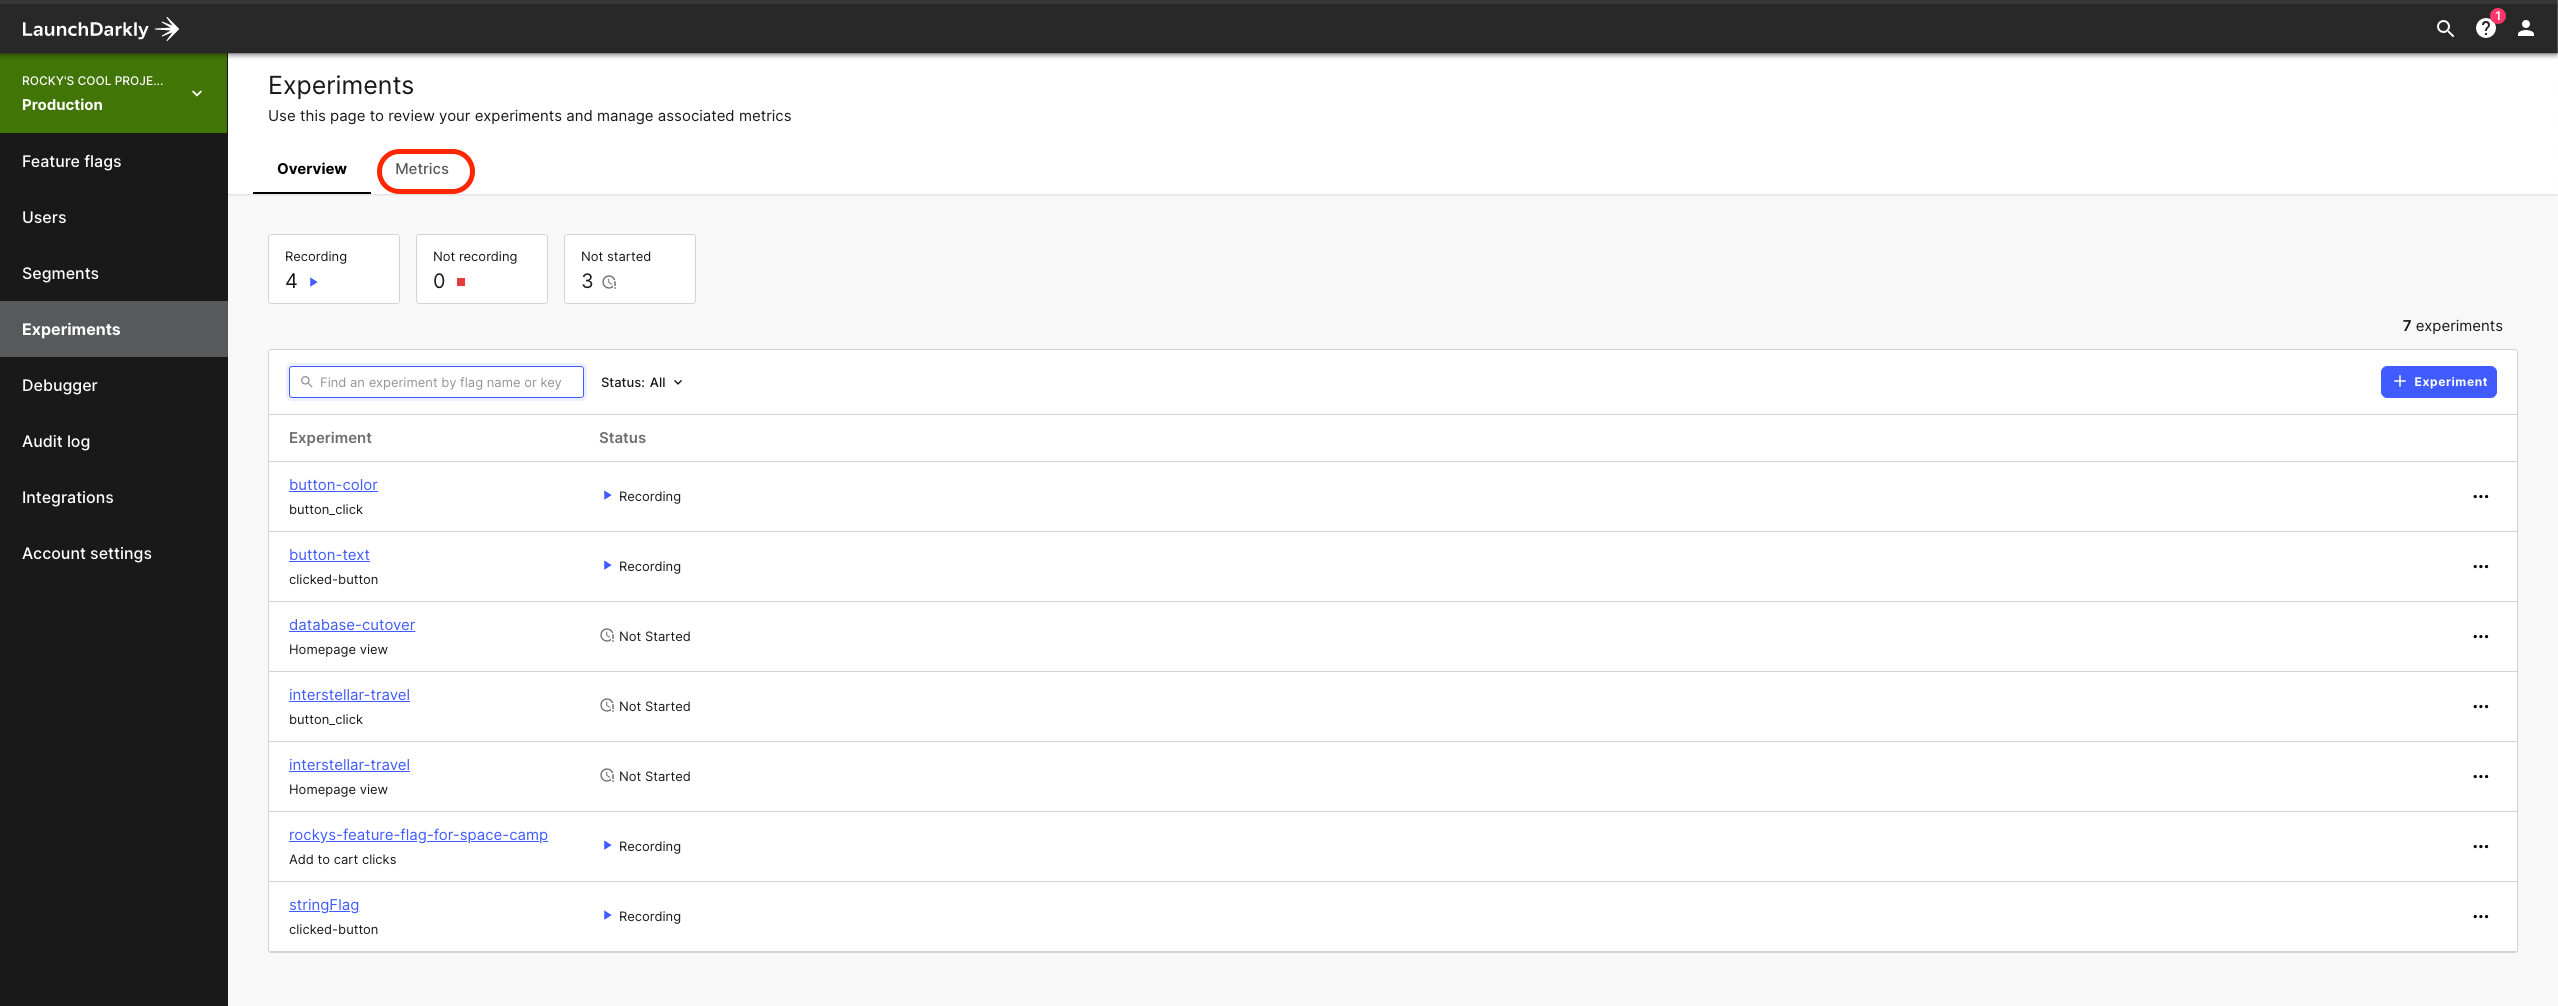
Click on Metrics:
-
Click the Create metric button:

-
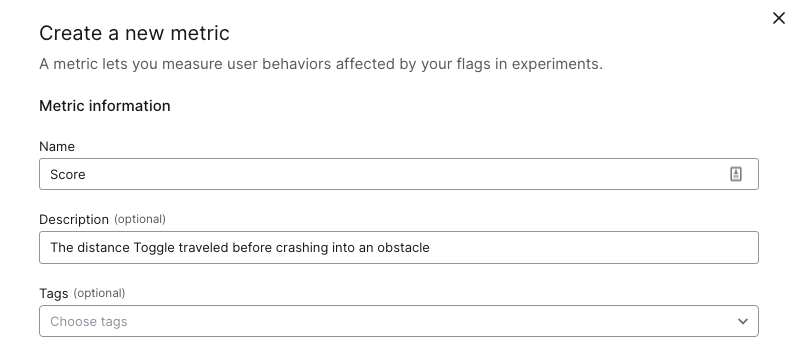
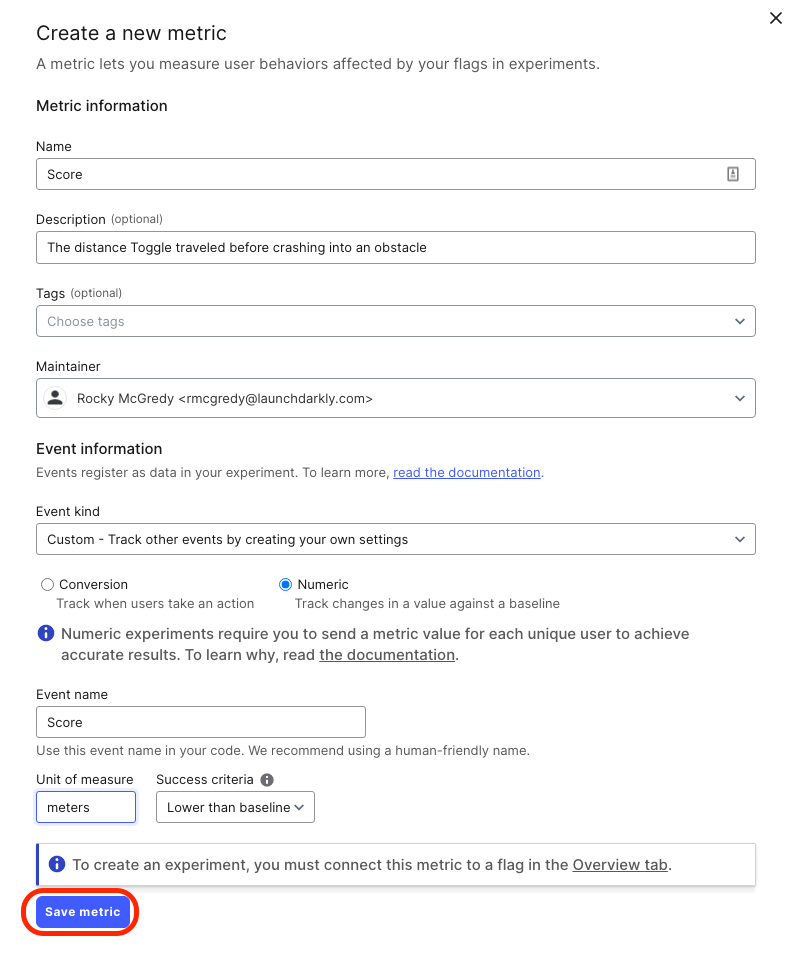
We're going to be creating a Numeric metric that records the distance that Toggle managed to run before crashing into an obstacle. We'll name our metric Score:
-
Remember, our hypothesis is that users will receive lower scores when the initial speed of the game is higher since gameplay will be more difficult. This means that we should expect the average score for higher speed variations to be less on average when compared to the default speed, so we'll want to select Lower than baseline from the Success criteria dropdown:

-
We will be implementing some additional code in order to track our metric, so we'll need to use the Custom Event Kind. Select Custom from the Event Kind menu, then select the Numeric type:
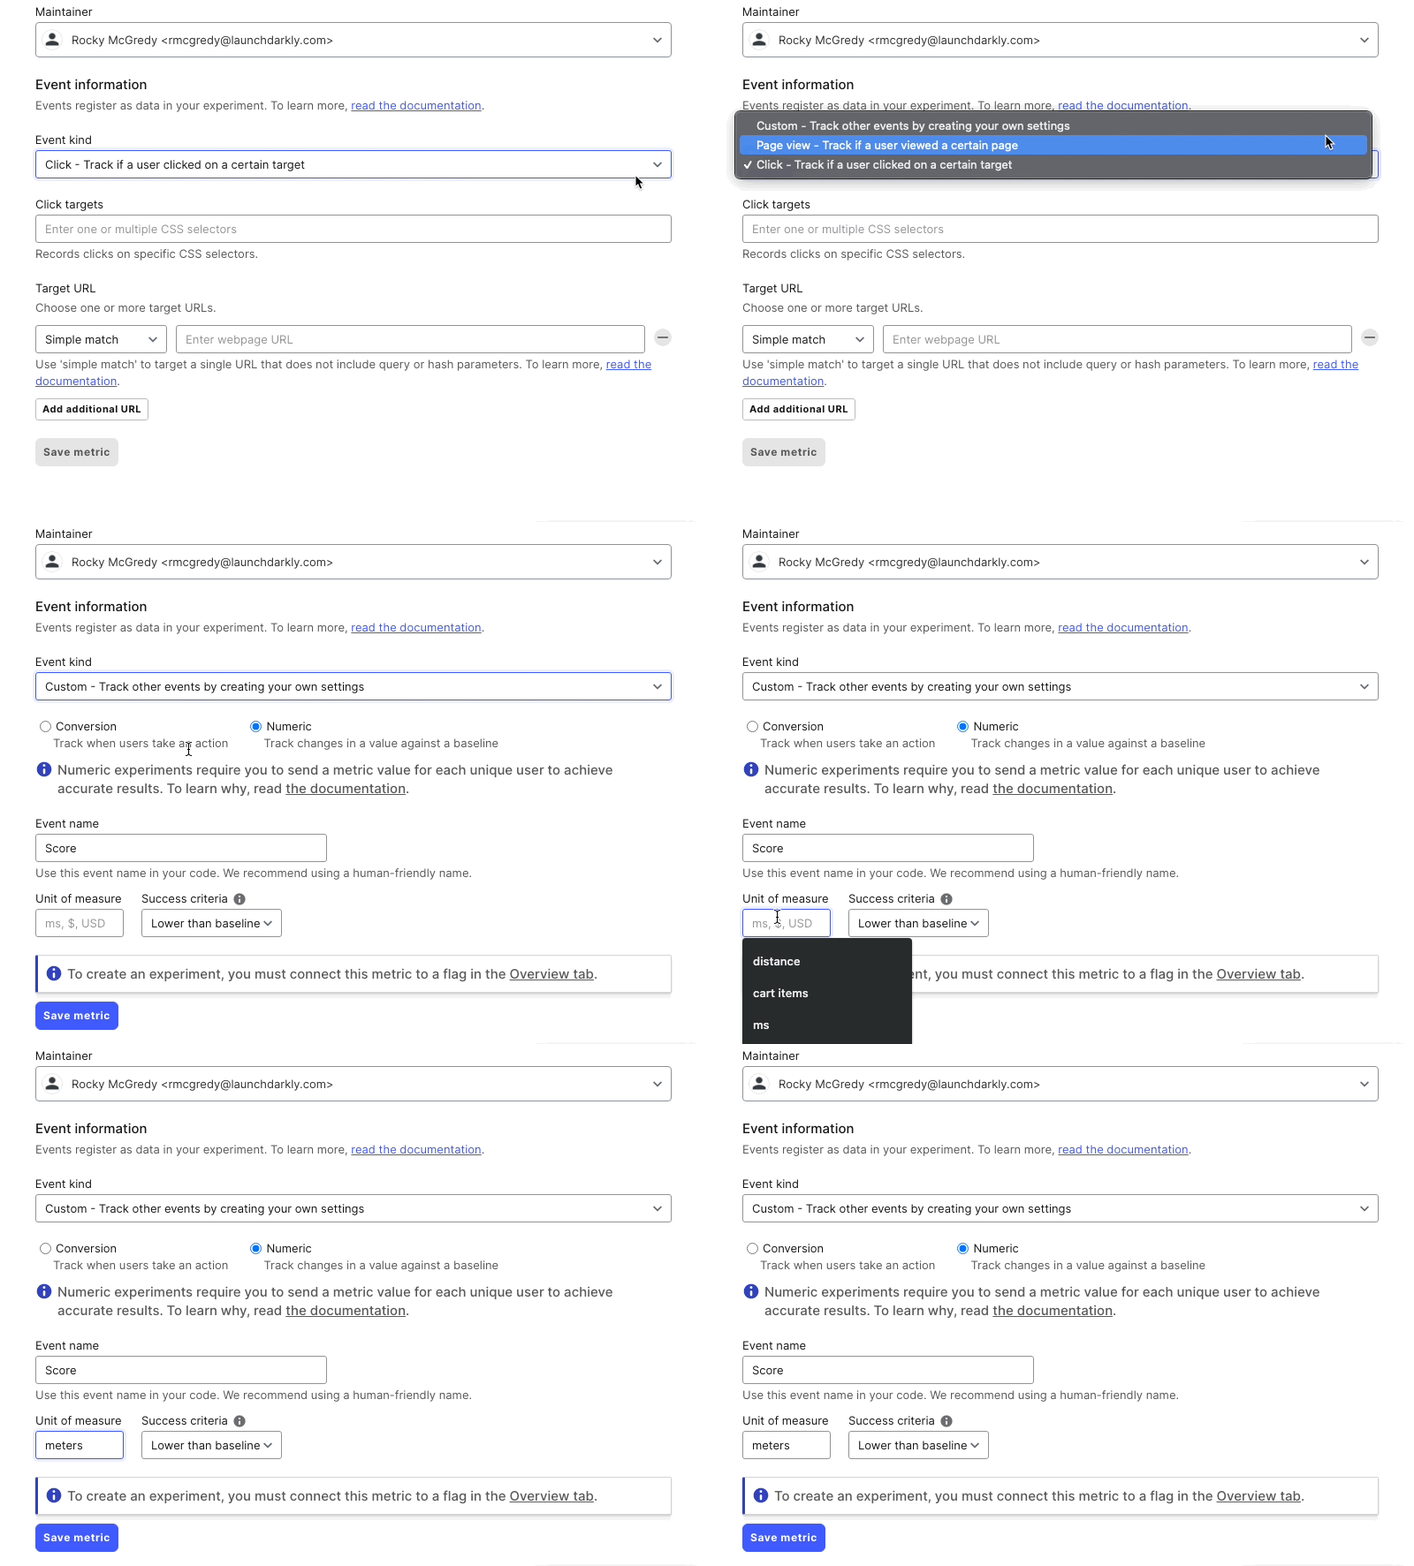 We'll use meters as our unit of measure
 -
Double check you've configured everything correctly and click Save metric:
More About Metrics
As you may have already noticed, LaunchDarkly provides a variety of different metrics for use with your experiments. The LaunchDarkly SDK emits Events, which are used to populate metric data on the experiment results page. The type of event you use will depend on which SDK you're using, as well as what metric data you're looking to collect to support your hypothesis.
There are three event types available: Click, Page view, and Custom. The Click and Page view event types are both Conversion events, meaning they increment your metric every time the user takes an action that triggers the event. Click and Page view events are only available in browser-based SDKs (JavaScript, React), but they don't require any additional code to implement.
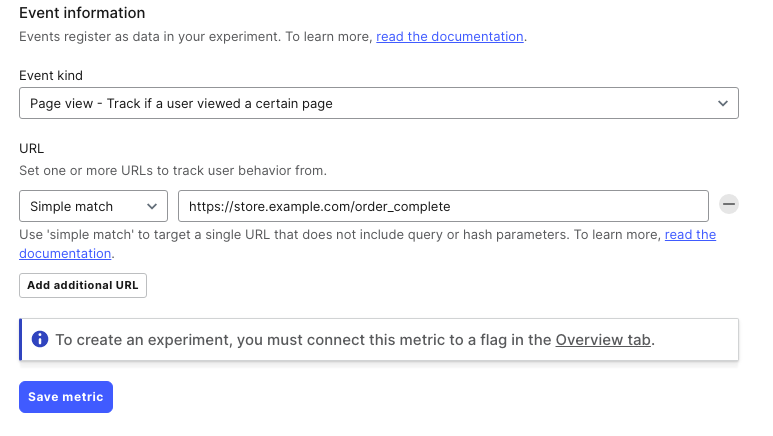
Page view events are triggered when a user views a certain page. They require a Target URL to know which page the user should visit to trigger the event.
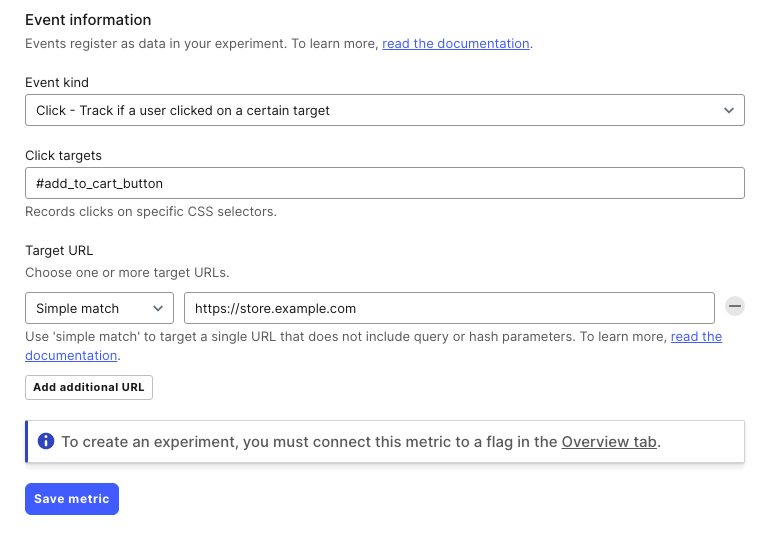
Click events are triggered whenever a user clicks an element on the page. They require a CSS Selector for the element you'd like to track, and a Target URL to ensure the event is triggered on the correct page.
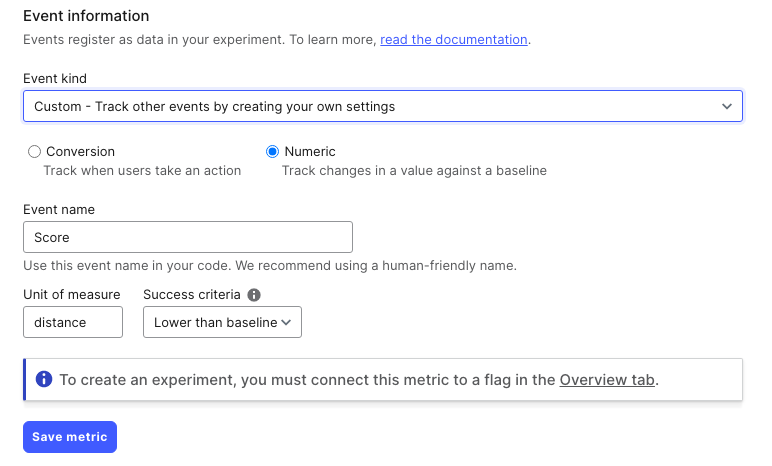
Custom Events are the most flexible event type. Custom events are implemented using the track method built-in to the LaunchDarkly SDK, which means that additional code needs to be added to your application to trigger your custom event. Custom events allow you to record Conversion or Numeric data. Numeric metrics require passing an additional metricValue parameter, which represents the number you'd like to record.
In the next section, we'll add the code to track our custom event code needed to record our score metric.